
9.9 KiB
Name
动态供需区间中线反转策略-Dynamic-Supply-Demand-Zone-Midline-Reversal-Strategy
Author
ianzeng123
Strategy Description
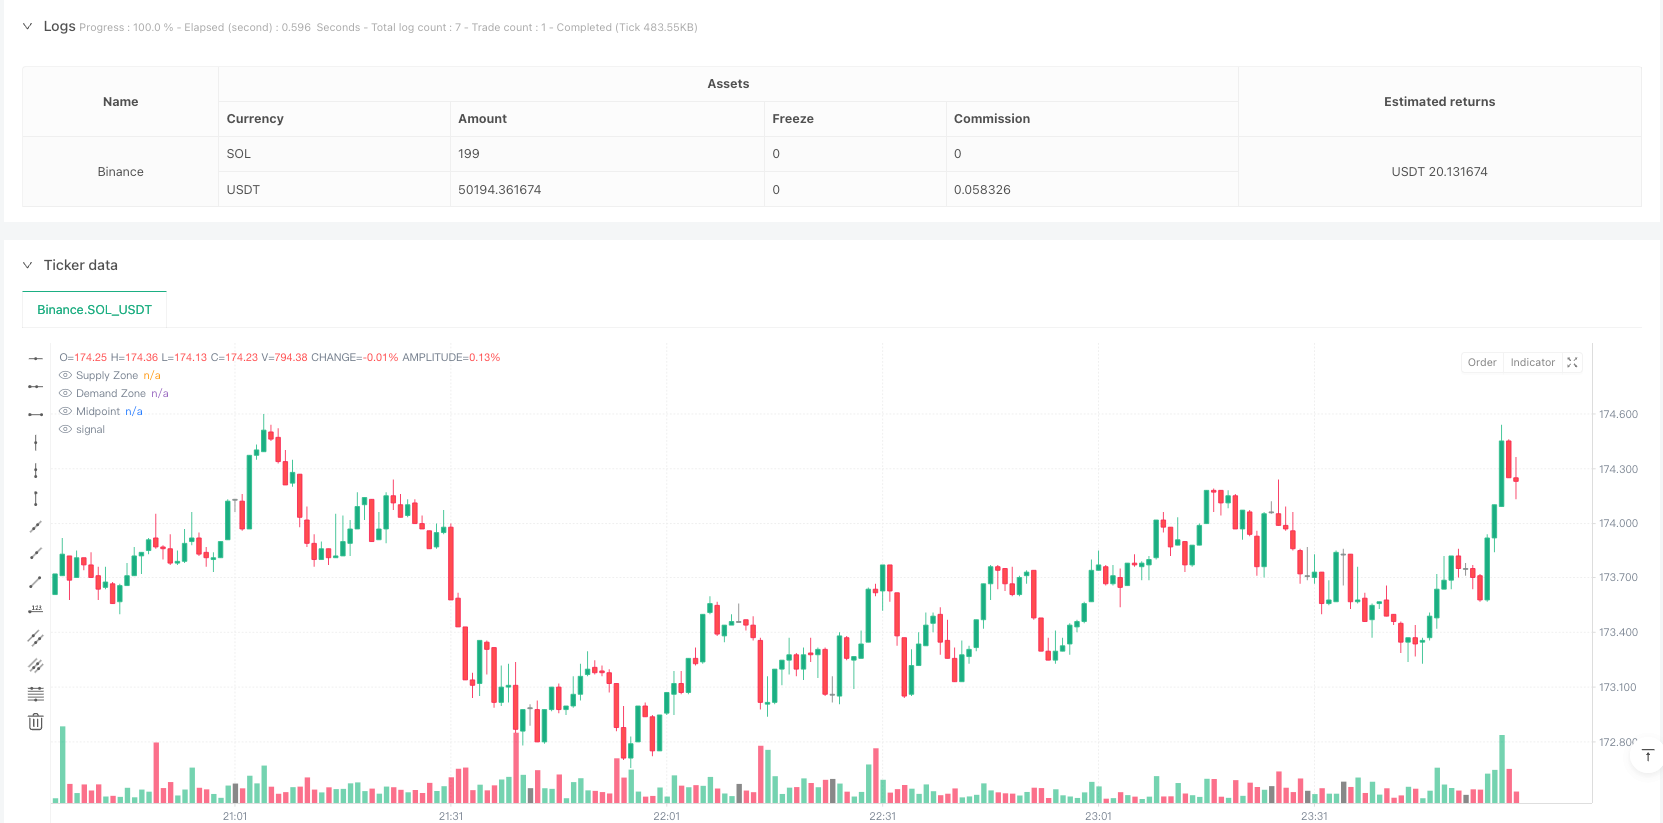
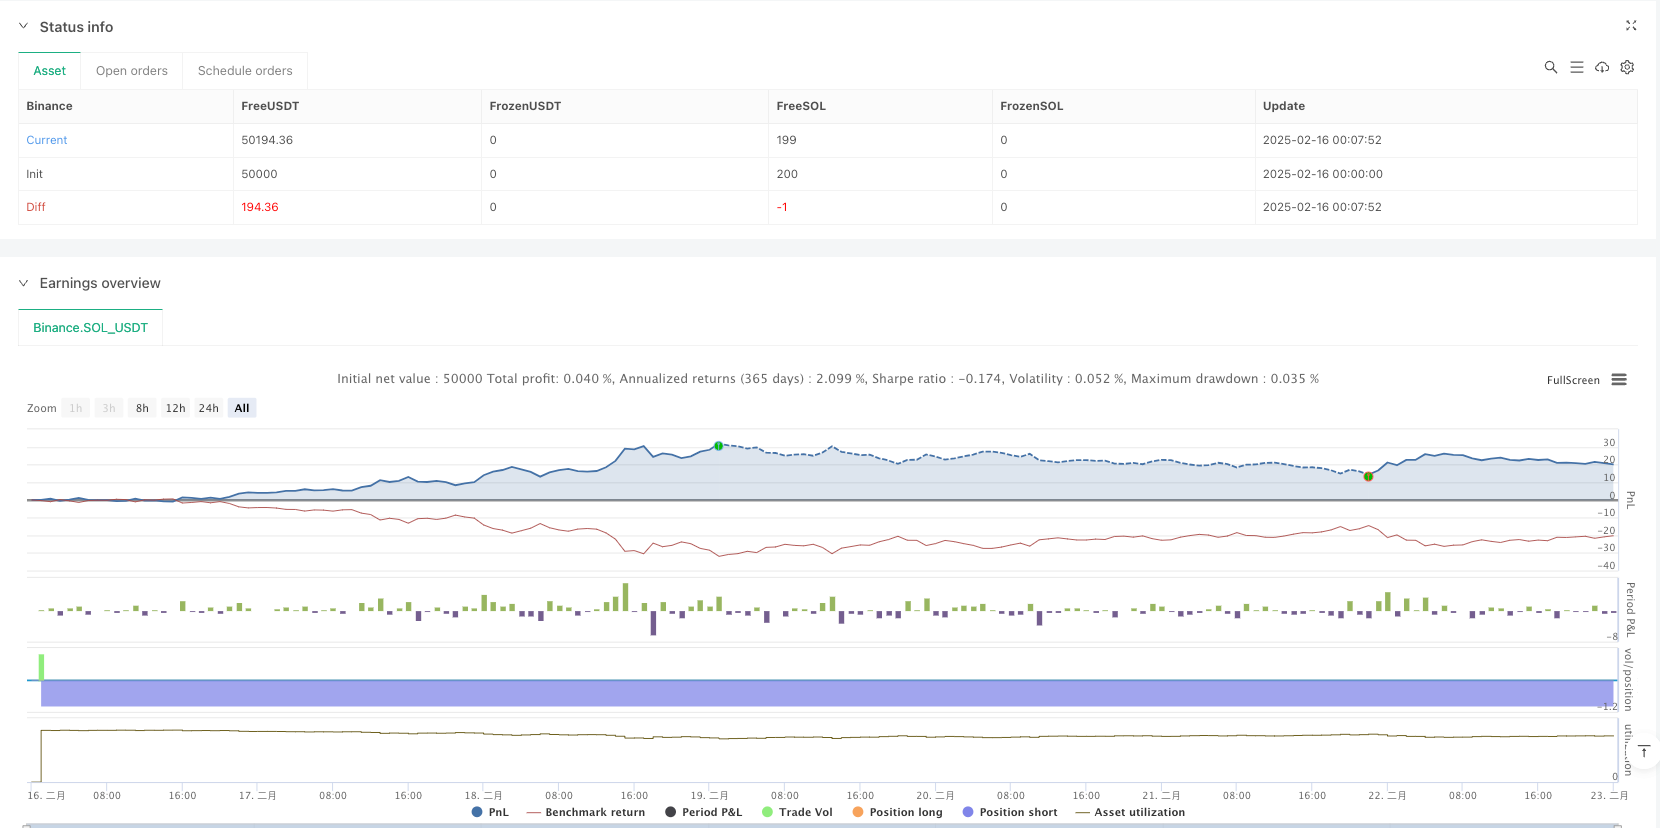
[trans]
概述
该策略是一个基于供需区间和中线反转的交易系统,在5分钟时间框架上运行。它通过识别趋势回调至中线位置时的反转信号来进行交易,并在预先确定的供需区域设置止盈止损。策略结合了移动平均线(SMA)来确定趋势方向,通过高低点识别供需区间,利用区间中点作为重要的价格参考水平。
策略原理
策略的核心逻辑包含以下几个关键要素:
- 供需区间的确定:使用用户自定义周期(默认50个周期)的最高价和最低价来确定供应区(阻力位)和需求区(支撑位)
- 中线计算:取供需区间的中点作为价格反转的重要参考位置
- 趋势判断:采用简单移动平均线(默认20周期)判断当前趋势方向
- 入场条件:
- 多头:价格在均线上方(上升趋势),且在中点下方出现看涨蜡烛形态
- 空头:价格在均线下方(下降趋势),且在中点上方出现看跌蜡烛形态
- 止盈止损设置:
- 多头:止盈设在供应区,止损设在需求区
- 空头:止盈设在需求区,止损设在供应区
策略优势
- 逻辑清晰:结合趋势、价格结构和蜡烛图形态,构建了完整的交易体系
- 风险管理完善:基于市场结构设置止盈止损点,符合价格运动规律
- 适应性强:可通过参数调整适应不同市场环境
- 可视化支持:通过标记和线条直观显示交易信号和关键价位
- 自动化程度高:入场出场条件明确,可实现完全自动化交易
策略风险
- 假突破风险:价格可能在供需区间内来回震荡,产生虚假信号
- 参数敏感性:不同参数设置可能导致显著不同的交易结果
- 市场环境依赖:在剧烈波动或横盘市场中可能表现欠佳
- 滑点影响:在流动性较差的市场中,实际成交价可能与信号价格有较大偏差
- 过度交易:频繁的区间突破可能导致过度交易
策略优化方向
- 信号过滤:
- 添加成交量确认
- 引入波动率指标筛选交易环境
- 动态参数:
- 基于市场波动性自适应调整参数
- 引入自适应移动平均线
- 风险管理优化:
- 实现动态仓位管理
- 添加盈亏比过滤器
- 市场环境识别:
- 开发市场状态分类系统
- 在不同市场状态下使用不同的参数设置
总结
动态供需区间中线反转策略是一个结合了技术分析多个维度的交易系统,通过供需区间、趋势和价格形态的配合来捕捉市场机会。该策略的核心优势在于其清晰的逻辑框架和完善的风险管理体系,但同时也需要交易者密切关注市场环境的变化,及时调整参数设置。通过建议的优化方向,策略的稳定性和适应性有望得到进一步提升。
||
Overview
This strategy is a trading system based on supply-demand zones and midline reversal, operating on a 5-minute timeframe. It generates trading signals when price retraces to the midline during trends, with take-profit and stop-loss levels set at pre-identified supply and demand zones. The strategy combines Simple Moving Average (SMA) for trend direction, identifies supply-demand zones through highs and lows, and uses the zone midpoint as a crucial price reference level.
Strategy Principles
The core logic includes several key elements:
- Supply-Demand Zone Identification: Uses user-defined period (default 50) highs and lows to determine supply (resistance) and demand (support) zones
- Midline Calculation: Takes the midpoint of supply-demand zones as a key price reversal reference
- Trend Determination: Employs Simple Moving Average (default 20 periods) to determine current trend direction
- Entry Conditions:
- Long: Price above SMA (uptrend) with bullish candlestick pattern below midpoint
- Short: Price below SMA (downtrend) with bearish candlestick pattern above midpoint
- Take-Profit and Stop-Loss Setup:
- Long: Take-profit at supply zone, stop-loss at demand zone
- Short: Take-profit at demand zone, stop-loss at supply zone
Strategy Advantages
- Clear Logic: Combines trend, price structure, and candlestick patterns into a complete trading system
- Robust Risk Management: Sets profit targets and stops based on market structure
- High Adaptability: Can be adjusted through parameters for different market conditions
- Visual Support: Provides clear visualization of trading signals and key price levels
- High Automation: Clear entry and exit conditions enable fully automated trading
Strategy Risks
- False Breakout Risk: Price may oscillate within supply-demand zones, generating false signals
- Parameter Sensitivity: Different parameter settings may lead to significantly different trading results
- Market Environment Dependency: May underperform in highly volatile or ranging markets
- Slippage Impact: Actual execution prices may deviate significantly from signal prices in less liquid markets
- Overtrading: Frequent zone breakouts may lead to excessive trading
Strategy Optimization Directions
- Signal Filtering:
- Add volume confirmation
- Incorporate volatility indicators for market condition filtering
- Dynamic Parameters:
- Implement adaptive parameter adjustment based on market volatility
- Introduce adaptive moving averages
- Risk Management Enhancement:
- Implement dynamic position sizing
- Add risk-reward ratio filters
- Market Environment Recognition:
- Develop market state classification system
- Use different parameter settings for different market states
Summary
The Dynamic Supply-Demand Zone Midline Reversal Strategy is a trading system that combines multiple dimensions of technical analysis, capturing market opportunities through the interplay of supply-demand zones, trends, and price patterns. Its core strengths lie in its clear logical framework and comprehensive risk management system, but traders need to closely monitor market environment changes and adjust parameters accordingly. Through the suggested optimization directions, the strategy's stability and adaptability can be further enhanced. [/trans]
Source (PineScript)
/*backtest
start: 2025-02-16 00:00:00
end: 2025-02-23 00:00:00
period: 1m
basePeriod: 1m
exchanges: [{"eid":"Binance","currency":"SOL_USDT"}]
*/

// This Pine Script™ code is subject to the terms of the Mozilla Public License 2.0 at https://mozilla.org/MPL/2.0/
// © bommytarton

//@version=6
strategy("Midline Rejection Entry with TP/SL at Supply/Demand", overlay=true)

// User inputs for Swing Length and Length for Supply/Demand Zones
length = input.int(50, title="Swing Length", minval=1)
midlineLength = input.int(20, title="Midline Length for Trend", minval=1)  // Moving average length for trend

// Identify swing highs (Supply Zone) and swing lows (Demand Zone)
supplyZone = ta.highest(high, length) // Supply Zone (resistance)
demandZone = ta.lowest(low, length) // Demand Zone (support)

// Calculate the midpoint between supply and demand zones
midpoint = (supplyZone + demandZone) / 2

// Trend Detection: Use a simple moving average (SMA) for trend direction
smaTrend = ta.sma(close, midlineLength)

// Variables to store Supply/Demand Zones at the time of entry
var float entrySupplyZone = na
var float entryDemandZone = na
var float entryMidpoint = na

// Entry Conditions
// 1. Price in an uptrend (close above SMA)
longCondition = close > smaTrend and close < midpoint and close > open and open < close[1] and close[1] < open[1]

// 1. Price in a downtrend (close below SMA)
shortCondition = close < smaTrend and close > midpoint and close < open and open > close[1] and close[1] > open[1]

// Close any open trades before opening a new one
if (longCondition or shortCondition)
    strategy.close_all()

// Execute the entry logic
if (longCondition)
    entrySupplyZone := supplyZone  // Store Supply Zone for Take Profit
    entryDemandZone := demandZone  // Store Demand Zone for Stop Loss
    entryMidpoint := midpoint      // Store Midpoint
    strategy.entry("Long", strategy.long)
    label.new(bar_index, low, "Open Long", color=color.green, textcolor=color.white, style=label.style_label_up, size=size.small)

if (shortCondition)
    entrySupplyZone := supplyZone  // Store Supply Zone for Stop Loss
    entryDemandZone := demandZone  // Store Demand Zone for Take Profit
    entryMidpoint := midpoint      // Store Midpoint
    strategy.entry("Short", strategy.short)
    label.new(bar_index, high, "Open Short", color=color.red, textcolor=color.white, style=label.style_label_down, size=size.small)

// Define Take Profit and Stop Loss Levels for Long/Short Trades
if (strategy.opentrades > 0)
    // For Long trades, use Supply Zone for Take Profit and Demand Zone for Stop Loss
    if (strategy.position_size > 0)
        strategy.exit("Take Profit", "Long", limit=entrySupplyZone)  // Take Profit at Supply Zone
        strategy.exit("Stop Loss", "Long", stop=entryDemandZone)    // Stop Loss at Demand Zone


    // For Short trades, use Demand Zone for Take Profit and Supply Zone for Stop Loss
    if (strategy.position_size < 0)
        strategy.exit("Take Profit", "Short", limit=entryDemandZone)  // Take Profit at Demand Zone
        strategy.exit("Stop Loss", "Short", stop=entrySupplyZone)     // Stop Loss at Supply Zone


// Re-Plot Supply, Midpoint, and Demand Zones after Trade Closure
plot(supplyZone, title="Supply Zone", color=color.red, linewidth=2, style=plot.style_line)
plot(demandZone, title="Demand Zone", color=color.green, linewidth=2, style=plot.style_line)
plot(midpoint, title="Midpoint", color=color.blue, linewidth=1, style=plot.style_line)
Detail
https://www.fmz.com/strategy/483514
Last Modified
2025-02-24 16:00:34